

How to Install a Video Doorbell Without Existing Doorbell Wiring (2026)
AbodeAlly is reader-supported. When you buy through links on this page, we may earn an affiliate commission — it never changes our picks, and you never pay extra.
Yes — you can install a video doorbell with no existing wiring at all. Battery-powered models mount with screws or a no-drill adhesive bracket, charge over USB-C every few months, and stream over your home Wi-Fi. Still deciding whether a doorbell or a camera fits your home? Work it out before you buy. This guide walks you through the full 20–40 minute install, from picking the right model to setting motion zones.
Published 28 September 2026 · Updated 28 September 2026
Key Takeaways
- Battery doorbells need no wiring — they charge over USB-C every 2–6 months and stream over Wi-Fi.
- Eufy E340 is our pick for wire-free homes: swappable battery, 8 GB local storage, no subscription.
- Charge to 100% before mounting; the whole install takes 20–40 minutes with no electrician.
- Renters can go fully no-trace: adhesive mount, battery power and a plug-in chime leave zero damage.
No doorbell wires? No problem. Roughly half of video doorbells sold in 2026 are battery-powered specifically for homes like yours. This guide walks through the full install — choosing the right doorbell, mounting it with or without drilling, and getting alerts working — in about 30 minutes.
What you’ll need
Tools & materials:
– Battery video doorbell (see options below)
– Phillips screwdriver
– Drill + drill bits and wall anchors (only if screw-mounting into brick/masonry — skip for renters)
– Smartphone with the doorbell’s app installed
– USB charger (to fully charge the battery before mounting)
– Optional: wedge/angle mount (for side-facing doors), adhesive mount (no-drill), plug-in chime
Time: 20–40 minutes. Skill level: beginner.
Step 0: Pick the right no-wiring doorbell
Not all battery doorbells are equal for a wire-free install. What matters: battery life, whether the battery is removable, and whether you need a subscription for recordings.
| Doorbell | Power | Battery life (claimed) | Removable battery | Local storage | Price |
|---|---|---|---|---|---|
| Eufy E340 | Battery or wired | Up to 6 months | Yes (quick-release) | 8 GB on-device | $149.99 |
| Ring Battery Doorbell 2K | Battery or wired | Up to ~120 days | No (built-in — whole unit detaches for USB-C charging) | No (Ring Home plan) | ~$99.99 |
| Arlo 2K (2nd Gen) | Battery or wired | Varies by activity | No (built-in) | No (Arlo Smart Aware plan) | ~$59.99 street |
| Tapo D230S1 | Battery | Up to 6 months | Yes | microSD | ~$85 (deal pricing; kit lists at $119.99) |
| Google Nest Doorbell (battery) | Battery or wired | ~2.5 months | No (built-in) | No (Google Home Premium plan) | $199.99 (was ~$179 before Google’s Aug 31, 2026 hardware price hike) |
Our pick for no-wiring homes: the Eufy E340 — longest battery claims, swappable battery, and local recording with no subscription, so a wire-free install doesn’t mean a feature-free doorbell.
Budget pick: the Tapo D230S1 — microSD local storage, free on-device AI detection, no monthly fees, ~$85 at deal pricing (kit lists at $119.99).
Renter pick: the Ring Battery Doorbell 2K Plus (~$179.99) — adhesive no-drill mounts exist for it, and its Quick Release Battery Pack pops out for charging without unmounting anything.
Pros
- Up to 6 months battery (claimed); quick-release swappable pack
- 8 GB on-device storage — full features with no subscription
Cons
- $149.99 — the priciest of our no-wiring picks
- Real-world battery life varies with motion activity and cold
Pros
- ~$85 deal pricing; microSD local storage
- Free on-device AI detection with no monthly fees
Cons
- Battery-only — no wired option
- Kit lists at $119.99 when not on deal
Pros
- Adhesive no-drill mounts available — ideal for renters
- Quick Release battery pack
Cons
- ~$179.99
- Recordings and smart alerts need a Ring Home plan
Step 1: Check your Wi-Fi at the front door
Battery doorbells stream over Wi-Fi, and a weak signal is the #1 cause of “my doorbell is slow” complaints. Stand at your front door with your phone and check:
- Full bars on 2.4 GHz? You’re fine — every doorbell here supports 2.4 GHz.
- Weak signal? Move your router closer, or add a plug-in Wi-Fi extender — or the Ring Chime Pro, the only plug-in chime here that doubles as a Wi-Fi extender — halfway between the router and the door.
- Metal door or metal siding? Metal attenuates Wi-Fi badly. Test carefully, and favor the 2.4 GHz band (better wall penetration than 5 GHz).
Step 2: Charge the battery fully before mounting
This is the step everyone skips. Charge to 100% indoors before you mount — it takes 4–6 hours for most packs, and you don’t want to discover a half-charged battery after you’ve screwed everything in. If your doorbell has a quick-release battery (Eufy, Ring Plus, Tapo), buy a spare now so swaps take 30 seconds later.
Step 3: Choose your mounting spot

- Height: ~48 inches (120 cm) from the ground — the standard that keeps faces centered.
- Position: on the door frame or wall beside the door, not on the door itself (vibration triggers false motion alerts and rattles the mount).
- Angle: if your door faces a wall or the street is to the side, add a 15–45° wedge mount so the camera sees approaching visitors, not the brick next door.
- Avoid: direct rain exposure if possible (all picks are IP54–IP65, but shelter extends life), and metal surfaces directly behind the unit (Wi-Fi and, on some models, the motion sensor suffer).
Step 4: Mount it — with or without drilling
Option A: Screws (most secure, homeowners)
1. Hold the mounting bracket at the marked height; level it.
2. Mark the screw holes with a pencil.
3. For wood/vinyl siding: drive screws directly (pilot holes help).
4. For brick/masonry: drill with a masonry bit, tap in wall anchors, then screw the bracket in.
5. Slide or screw the doorbell onto the bracket until it clicks.
Option B: No-drill adhesive mount (renters, siding you can’t pierce)
1. Clean the mounting surface with isopropyl alcohol and let it dry fully.
2. Apply the adhesive mount (Ring and several third parties sell purpose-made no-drill brackets; heavy-duty outdoor mounting tape works for lighter units).
3. Press firmly for 60 seconds, then wait 24 hours before hanging the doorbell — adhesive needs cure time to reach full strength.
4. Test by hanging the doorbell and gently tugging before you walk away.
Option C: Door-frame clamp / peephole bracket
Some mounts clamp to the door edge or replace the peephole with zero holes in the wall. Best for apartment doors where even adhesive is frowned upon — check your lease either way.
Step 5: Connect the app and Wi-Fi
- Open the doorbell’s app, create an account, and tap “add device.”
- Put the doorbell in pairing mode (usually a button on the back — do this before mounting, or pop it off the bracket).
- Join it to your 2.4 GHz Wi-Fi network. (If your router merges 2.4/5 GHz under one name, temporarily split them or use the app’s troubleshooting flow — this is the most common setup snag.)
- Run any firmware update before you finish — updates fix detection bugs and battery drain issues.
Step 6: Set motion zones and sensitivity
- Draw activity zones to cover your walkway and porch only — exclude the street and sidewalk, or passing cars will drain the battery and spam your phone.
- Start sensitivity at medium; raise it if visitors are missed, lower it if wind-blown plants trigger alerts.
- Enable person/package detection if your model includes it (Eufy and Tapo include it free; Ring and Arlo gate it behind subscriptions).
Step 7: Set up your chime
Without existing wiring, you have no mechanical chime. Options:
- Plug-in chime (Ring Chime / Chime Pro, eufy MiniBase, Arlo Chime 2) — plugs into any outlet and rings on press. (Of these, only the Chime Pro also extends your Wi-Fi.)
- Smart speaker — “Alexa, announce when the doorbell rings” / Google Home announcements. Free if you already own one.
- Phone notifications only — fine for apartments; enable critical/priority alerts so presses break through Do Not Disturb.
Step 8: Test everything
Press the button. Check: (1) your phone gets the notification within a few seconds, (2) the chime/speaker sounds, (3) live view loads, (4) two-way talk works both directions, (5) a motion event records (or notifies, if subscription-free). Walk-test the motion zone at day and night.
Battery vs plug-in vs solar: which power route?
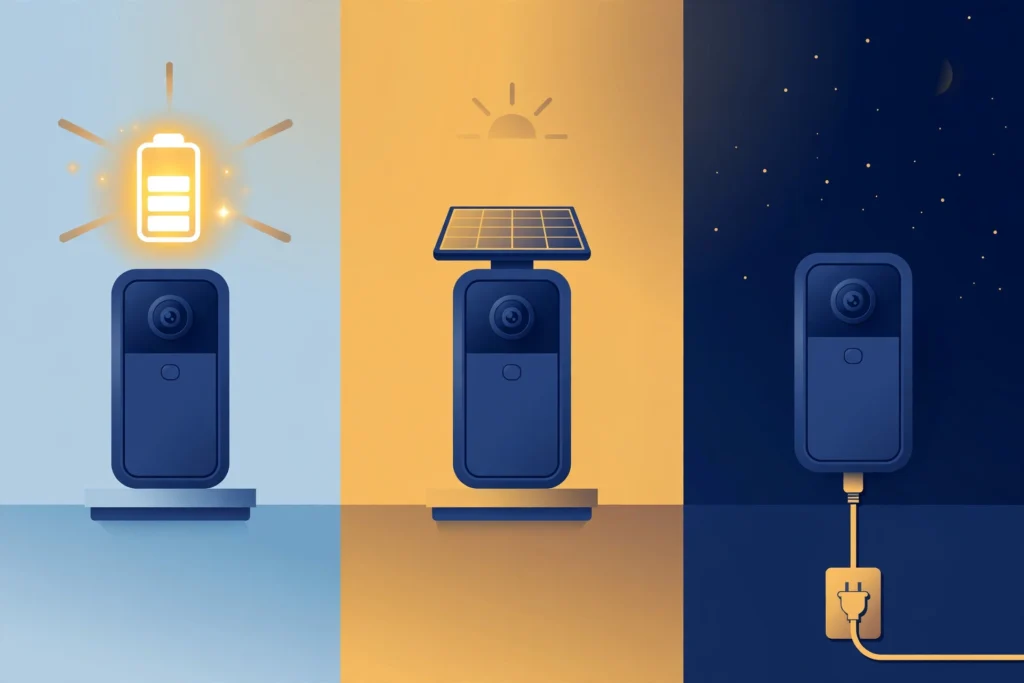
| Route | How it works | Best for | Watch out |
|---|---|---|---|
| Battery | Rechargeable pack, USB-C charging | Most wire-free homes; renters | Recharge every 2–6 months; cold slows charging below 32°F |
| Plug-in adapter | Low-voltage adapter to a nearby indoor outlet | Doors near an outlet; never want to charge | Thin wire must pass through wall/door frame — small hole needed |
| Solar panel | Brand solar charger keeps battery topped up | Sunny exposures; “set and forget” | Needs direct sun several hours daily; adds ~$50–85 |
For most people, battery + a spare pack is the sweet spot: no holes, no wires, quick swaps. Solar is worth it only if your door gets real sun.
For a home that can run a cable, see a wired PoE doorbell with local storage.
Renter box: the no-trace install
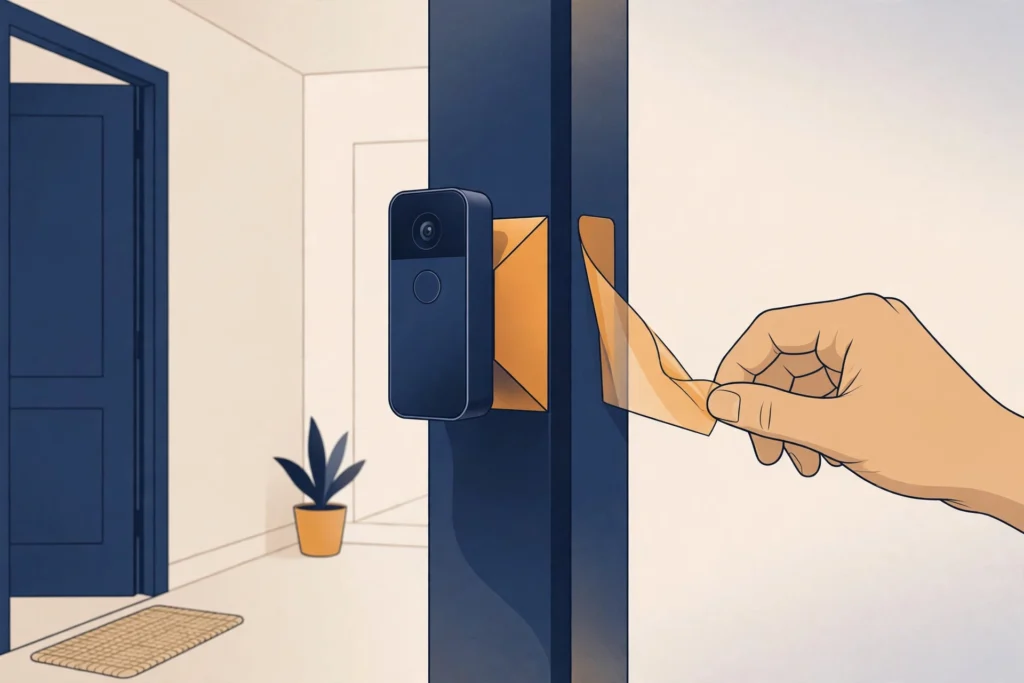
- No-drill mount + battery doorbell = zero permanent changes. Adhesive bracket, battery power, plug-in chime, smart-speaker announcements.
- Photograph the door area before you start — move-out proof of condition.
- Keep every screw and the original hardware if you temporarily remove anything (peephole, existing knocker).
- Battery doorbells are the renter’s cheat code: no electrician, no landlord permission needed in most leases (it’s not a fixture if nothing is drilled), and the whole thing comes down in minutes at move-out.
- Reversal at move-out: pop the doorbell off, peel the adhesive (dental floss + adhesive remover), wipe the surface, done.
FAQ
Can you install a video doorbell if you rent?
Yes — a battery doorbell with a no-drill adhesive or clamp mount requires no wiring and no holes. It’s the most renter-friendly smart home device there is.
Do battery doorbells work in winter?
They work, but with caveats: lithium batteries drain faster in the cold and won’t charge below about 32°F/0°C. Keep a charged spare indoors in winter (easy with quick-release packs). See our <a href=”/ring-vs-nest-doorbell-battery-life/”>Ring vs Nest battery breakdown</a> for the full cold-weather picture.
How long does installation take?
20–40 minutes for a battery doorbell: charge (done ahead), mount, connect Wi-Fi, set zones, test. No wiring, no electrician, no breaker panel.
Will a video doorbell work without a subscription?
It depends on the brand. Eufy and Tapo record locally with full features and no fee; Ring, Arlo, and Nest need their plans for recordings and smart alerts. Full breakdowns: <a href=”/ring-doorbell-without-subscription/”>Ring doorbell without a subscription</a>, <a href=”/does-arlo-work-without-subscription/”>Arlo without a subscription</a>.
What if my door faces sideways or there’s a wall in the way?
Use a wedge/angle mount (15–45°) to aim the camera at the approach path. This is the most under-bought $10 accessory in the category.
Sources
- https://www.eufy.com/products/T8214111 — Eufy E340 specs (battery/wired, 8 GB local)
- https://www.techhive.com — Arlo Video Doorbell 2K (2nd Gen) review
- https://www.bestbuy.com — Tapo D230S1 listing (microSD, no monthly fees)
- https://www.digitaltrends.com/home/nest-doorbell-vs-ring-battery-doorbell-plus/ — Ring/Nest install notes
- https://blog.google/products-and-platforms/devices/google-nest/googe-home-premium-google-ai-pro-subscription/ — Google Home Premium replaces Nest Aware (Standard $10/mo/$100/yr; Advanced $20/mo/$200/yr)
Your next step
- Battery Life Compared (Specs + Independent Tests) (2026) — Going wire-free? Compare real battery charge-cycle data.
- Can You Use a Ring Doorbell Without a Subscription? (2026) — Work out the ongoing cost before you buy.
- Eufy vs Arlo Video Doorbell (2026): Models, Subscription Math, and the Real Winner — Compare the two big doorbell brands on models and subscription maths.
- no-drill apartment doorbell picks — Renting? See the five apartment-friendly picks ranked for no-drill installs.
Recent updates
- 28 September 2026 — Restructured with Key Takeaways, pros/cons boxes and FAQ schema; re-verified specs and prices.
Why you can trust AbodeAlly
AbodeAlly is a research-based buying guide, not a test lab. We don’t run a warehouse of gadgets or a lab bench, so we never invent hands-on test results.
Every pick starts with manufacturer specifications and standards documents, cross-checked against reputable expert reviews and long-term owner feedback. We re-verify specs and prices on a regular update cadence, and each article carries a dated changelog so you can see exactly what changed and when.
Spot an error or an out-of-date price? Tell us and we’ll fix it — corrections are published openly, not buried.





9 Comments