
How to Tell If You Have a C-Wire
Check your thermostat’s C terminal for a connected wire, look for a spare wire in the wall, and confirm at the furnace control board. If all three come up empty, you have no C-wire — but you still have options.
Published 28 September 2026 · Updated 28 September 2026
AbodeAlly is reader-supported. When you buy through links on this page, we may earn an affiliate commission — it never changes our picks, and you never pay extra.
Five minutes and a screwdriver. That’s all it takes to answer the question standing between you and a smart thermostat. This guide walks you through three checks — thermostat, spare wires, furnace panel — in order, so you stop at the first definitive answer. Once your thermostat is sorted, see our guide to the best home energy monitors to track what your HVAC actually costs.
Safety first, every time: turn off your HVAC breaker before touching any wiring. Thermostat circuits are low-voltage (24V), but the furnace panel sits next to line voltage. Breaker off, then hands in.
Key Takeaways
- A C-wire is a wire connected to the C terminal at the thermostat — wire color alone proves nothing.
- Check the thermostat wiring, look for a spare wire in the wall, then confirm at the furnace control board.
- Match both ends: the same wire must land on C at the thermostat and at the board.
- No C-wire? Repurpose the G-wire, use a power extender kit, or run new cable.
What you’re looking for
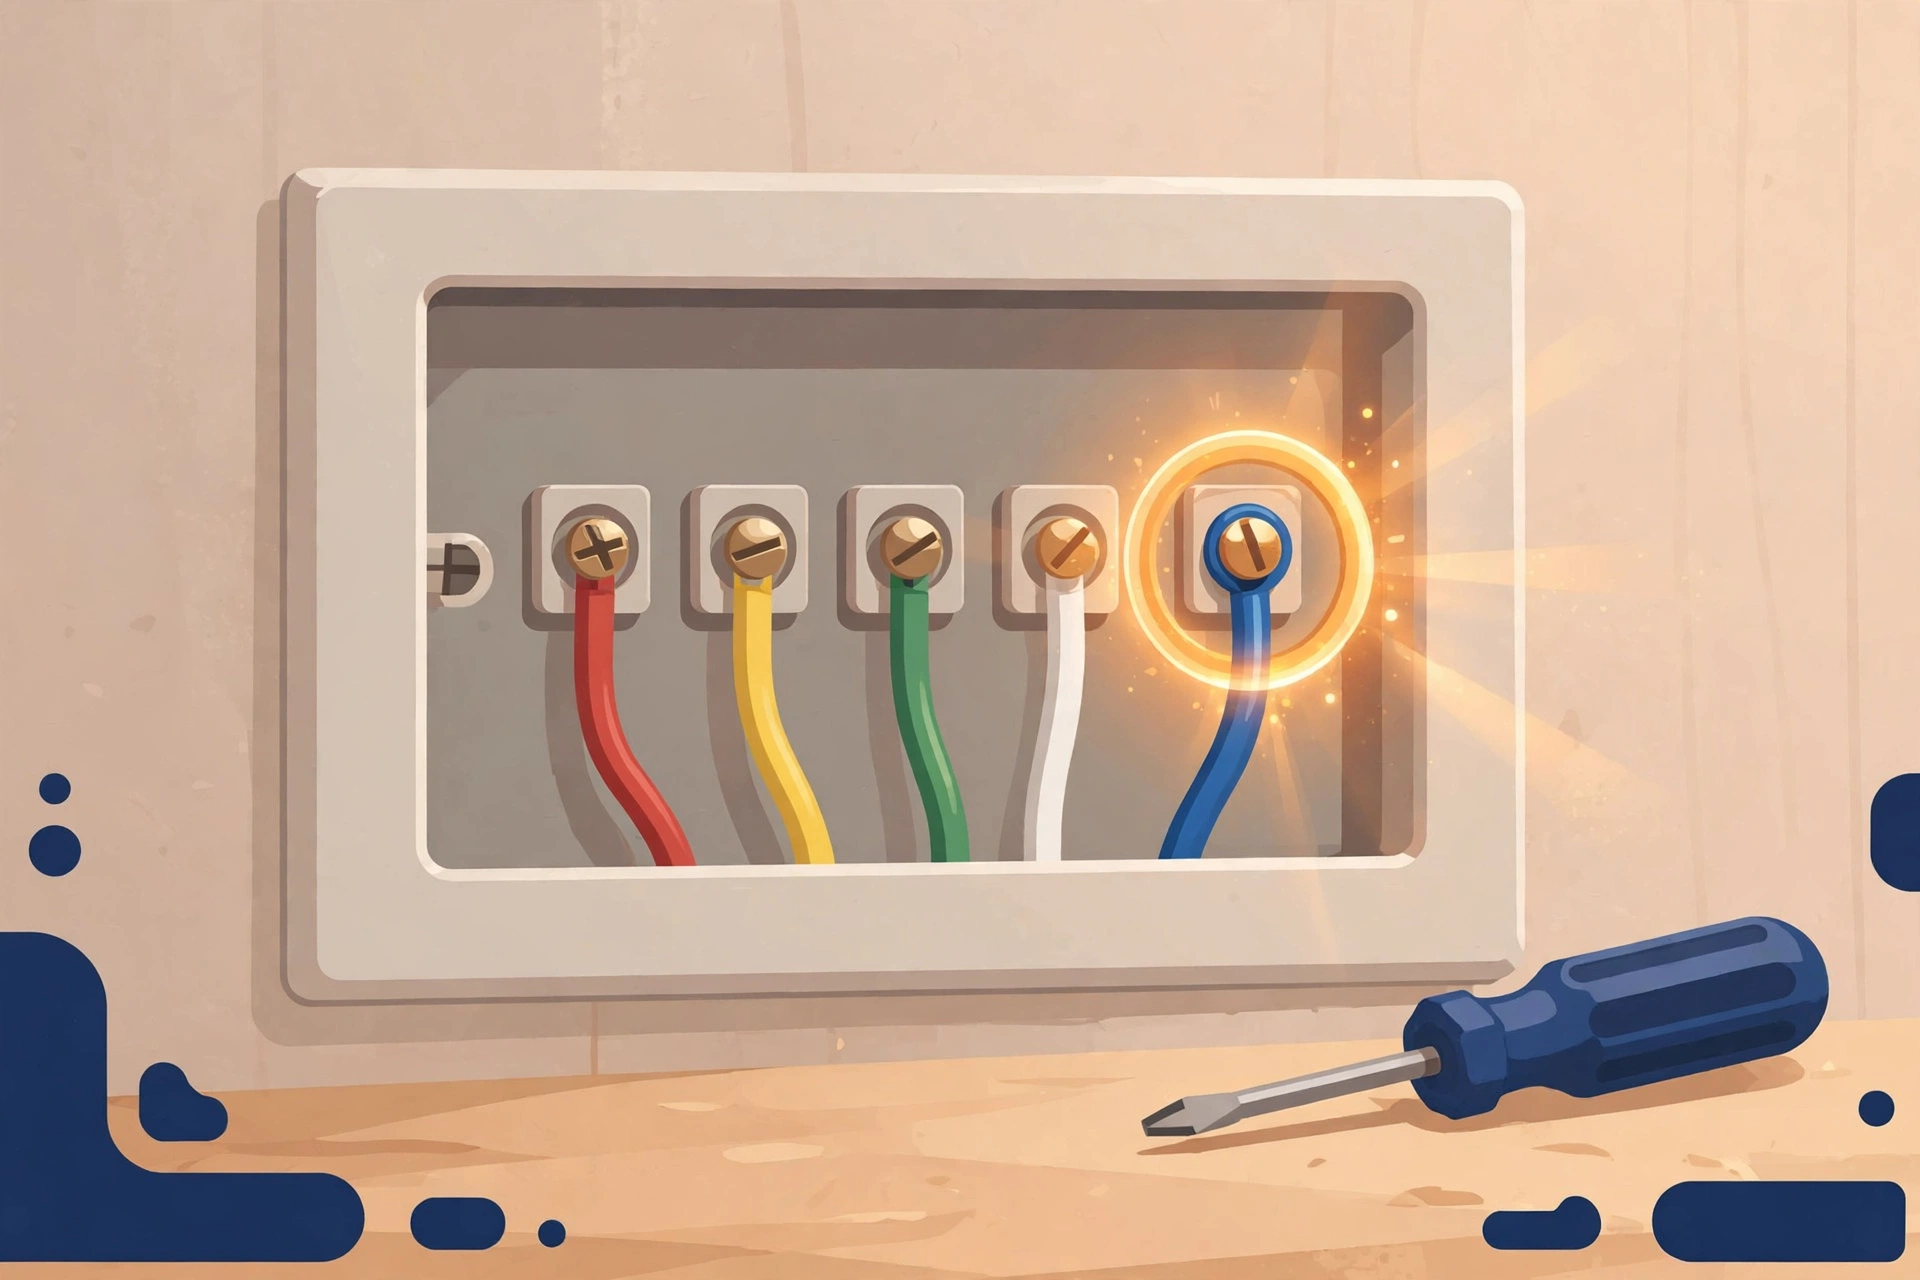
The C-wire (common wire) is the wire that gives a smart thermostat continuous 24V power. Behind your thermostat you’ll see a bundle of small wires connected to lettered terminals: R (power), W (heat), Y (cool), G (fan), and — if you have one — C (common).
Pull the thermostat faceplate off the wall so you can see the terminal block straight on. A wire landed on the terminal labeled “C” (or “Common”) = you have a C-wire. This one visual check answers the question for most people.
Check 1 — Look at the thermostat wiring (2 minutes)
- Turn off the HVAC breaker. (Seriously. Do it now.)
- Pull the thermostat faceplate off the wall — most pop off with gentle pressure; some have a small latch underneath.
- Look at the terminal block closely — get the labels readable. Look for a wire connected to the terminal marked C.
- Found one? You have a C-wire. Skip to “What this means for your thermostat choice” below.
The color trap — read this before you conclude anything: the C-wire is usually blue. Sometimes it’s black. Sometimes brown. Sometimes the installer used whatever was in the truck. Wire color proves nothing by itself. A blue wire on the C terminal is a C-wire; a blue wire on some other terminal is not; a brown wire on the C terminal absolutely is. “Blue wire = C-wire” is the shortcut that miswires systems. The terminal label is the truth; the color is a hint.
If the C terminal is empty, don’t conclude yet — move to Check 2.

Check 2 — Look for a spare wire tucked in the wall (2 minutes)
Installers often run a 5-wire (or 8-wire) bundle even when the old thermostat only needed 4 wires. The extra wire gets tucked behind the backplate, unterminated.
- With the breaker still off, gently pull the wire bundle forward out of the wall opening.
- Fan out the full wire bundle so you can see every conductor, including any tucked-away spare.
- See an extra wire (often blue or brown) with a bare or capped end? That’s very likely your future C-wire — but it only counts if it’s also connected at the furnace end. That’s Check 3.
No spare wire? Move to Check 3 anyway — the definitive answer lives at the furnace.
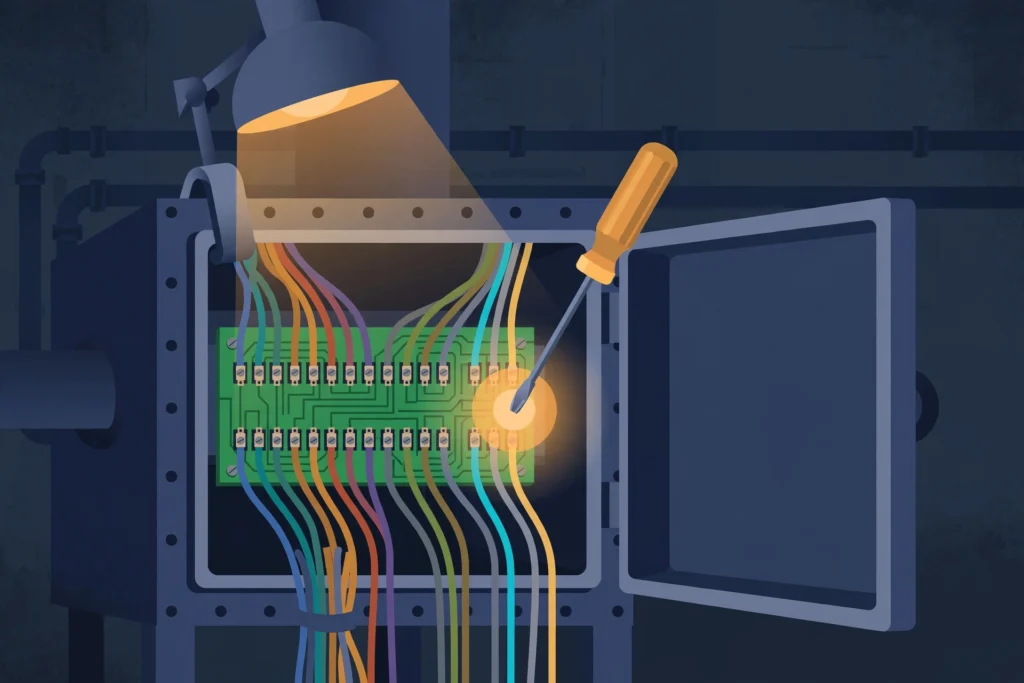
Check 3 — Check the furnace control board (5 minutes)
This is the authoritative check. The thermostat end can mislead (disconnected spares, mislabeled terminals); the furnace board cannot.
- Find your furnace / air handler / heat-pump air handler. It’s the big metal box — basement, closet, attic, or garage.
- Breaker OFF (if you haven’t already). Remove the access panel — usually two screws or simple latches.
- Find the low-voltage terminal strip on the control board: a row of small screws labeled R, C, W, Y, G (sometimes R, Rc, Rh variants). Note its location on the board.
- Look closely at the low-voltage terminal strip and note which wires land where — the labels must be readable.
- Match the wire: note the color on the board’s C terminal, then confirm the same color wire is the one you found (or will connect) at the thermostat. Both ends must agree — this is the step that catches most miswiring.
Critical warning — two different “C”s: many furnace boards also label the 120V neutral bar as “COM” or “Neutral.” That is mains voltage and has nothing to do with your thermostat. Only use the 24V C terminal on the low-voltage strip next to R/W/Y/G. Connecting thermostat wire to the 120V neutral will destroy the thermostat and possibly the board. When in doubt, follow the wiring diagram printed inside the furnace panel door — it’s the manufacturer’s own map. (Source: pickhvac.com)
The multimeter confirmation (optional, 1 minute)
If you want certainty instead of inference: with the breaker back ON and the panel open, set a multimeter to AC volts, touch one probe to R and the other to C. A stable 24-28 VAC reading confirms the C terminal is live and usable. Zero volts means the wire isn’t actually connected to anything at the far end, or there’s a blown fuse/transformer issue to sort first.
Reading your results
| What you found | Meaning | Next step |
|---|---|---|
| Wire on C terminal at thermostat | You have a C-wire | Buy any smart thermostat; installation is a straight swap |
| Spare wire in wall + matching wire on board’s C terminal | You have a C-wire (just connect both ends) | Land the spare on C at both ends, then install |
| Spare wire in wall, nothing on board’s C | Wire exists but isn’t connected | Connect it to C at the board (breaker off), then to C at the thermostat |
| No spare, no C at board | No C-wire | See “No C-wire? Your options” below |
| Wire on C at thermostat but nothing on board’s C | Something’s wrong — trace it | Do not proceed; the thermostat-end wire may be mislabeled or spliced elsewhere |
No C-wire? Your options, cheapest first
- Repurpose the G-wire (free). Move the G (fan) wire to the C terminal at both ends. You lose independent “fan only” mode; you gain a real C-wire with zero new cable. Takes 10 minutes.
- Buy a thermostat that doesn’t need one. The ecobee Smart Thermostat Enhanced ($199.99) ships with a Power Extender Kit that creates the C connection at the furnace — no new wire. The Nest Learning Thermostat (4th gen) usually runs fine on power sharing, with a $25 Power Connector as backup. The Sensi (~$130) needs no C-wire on most conventional systems at all. Full comparison: Ecobee vs Nest Without a C-Wire (2026 Models).
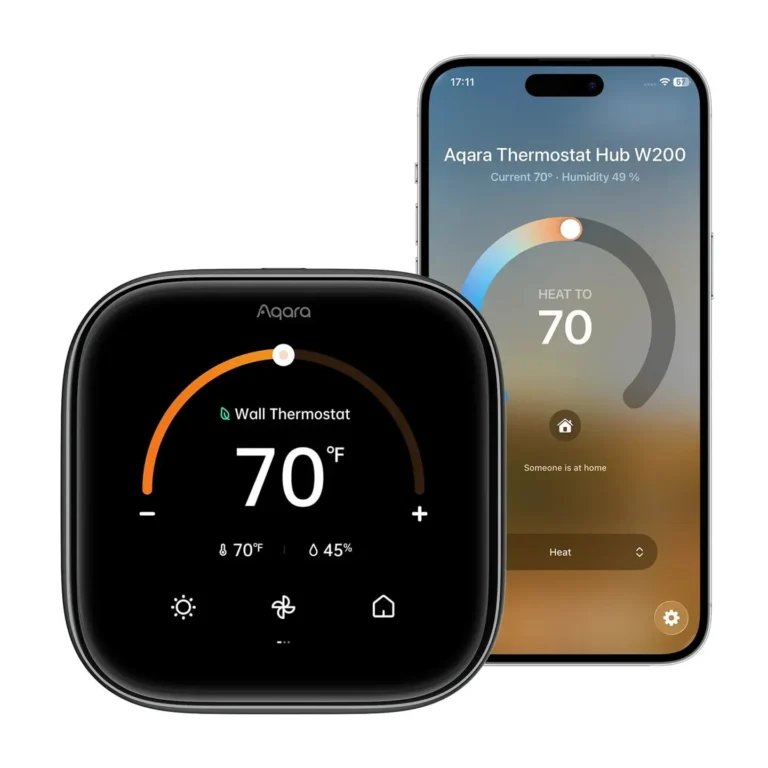
- C-wire adapter kit (~$25). Same class of fix as the ecobee PEK, but universal — installs at the furnace board. (Some thermostats need a brand-specific adapter instead — the Aqara Thermostat Hub W200, for instance, requires Aqara’s own $29.99 adapter.)
- Run new thermostat cable (~$30 in materials, half a day of fishing wire). The permanent fix. If your walls are open for any other reason, do this — future-you will be grateful.
- 24V plug-in transformer (~$15-25). Powers the thermostat’s C terminal from a nearby outlet. Works; looks inelegant unless you fish the wire.

Frequently asked questions
My thermostat has a blue wire but it’s on the ‘B’ terminal. Is that a C-wire?
No. Terminal labels are what matter, not wire colour. A blue wire on B is a B-wire (heat pump reversing valve). Only a wire on the C terminal counts. Move it to C at both ends (thermostat and board) only if you’ve confirmed it’s the same conductor and it’s actually connected at the board.
Can I install a smart thermostat with no C-wire and hope for the best?
On a Nest with power sharing, “hope” works more often than not — until it doesn’t (reboots, short-cycling, Wi-Fi drops). On most other thermostats it just won’t work. A $25 adapter or the G-wire trick is cheaper than the frustration.
Sources
- jackcooper.com — C-wire identification (match both ends)
- Tom’s Guide — why you need a C-wire (breaker-off, spare wire, board check)
- pickhvac.com — furnace C-terminal identification (120V neutral warning)
- thesmartcave.com — C-wire check procedure
Your next step
- Ecobee vs Nest Without a C-Wire (2026 Models) — No C-wire? Compare the two thermostats built to work without one.
- Do I Need a Hub for Matter Devices? (2026) — Answer the next infrastructure question: do your devices need a hub?
- How to Install a Smart Lock on a Metal/Steel Door (2026 Guide) — Keep building DIY skills with a tricky-door lock install.
Recent updates
- 28 September 2026 — Restructured with Key Takeaways, quick list and FAQ; re-verified specs and prices.
Why you can trust AbodeAlly
AbodeAlly is a research-based buying guide, not a test lab. We don’t run a warehouse of gadgets or a lab bench, so we never invent hands-on test results.
Every pick starts with manufacturer specifications and standards documents, cross-checked against reputable expert reviews and long-term owner feedback. We re-verify specs and prices on a regular update cadence, and each article carries a dated changelog so you can see exactly what changed and when.
Spot an error or an out-of-date price? Tell us and we’ll fix it — corrections are published openly, not buried.
AbodeAlly’s editorial team researches smart-home gear full time. We verify specifications against manufacturer and standards sources, cross-check reputable expert reviews and long-term owner feedback, and re-verify every guide on a regular cadence. We don’t run a test lab, so we never invent hands-on test results.

2 Comments